This is my first try at Eco dyeing. I gathered scraps of cotton, linen, and silk. I had to do a fair amount of searching to learn about mordant's and tannins. I had to use tea for the tannin. Regular tea and pomegranate tea. The mordant was introduced with alum.
First treat the fabric. I washed it several times in hot water.
Then treated it with Alum.
Next comes the overnight hot tea bath. I did not boil them in the tea. The fresh leaves and flowers from my lawn and garden were also treated to an overnight soak in a vinegar bath.
I layered them between plastic wrap so they wouldn't all mush together.
Get ready to assemble.
WEAR DISPOSEABLE GLOVES . I learned this the hard way. I had read to wear gloves. It was hinted that their was a chance of dangerous chemical reaction. Because I have had my hands in a lot of possibly hazardous situations and I did not have the iron concentrate that was called for.
I opted out of using the gloves. HUGE MISTAKE- My hands turned very dark black and no amount of cleaning would get it off . Then I had to go to my granddaughters graduation, looking like I just came from a tar pit. It took a solid 2 weeks to leave my skin and nails.
Now time for the layering and commencing of the rolls. I worked outside. It is messy.
General sample of placement and a scrap of rusty tin.
While I am at it why not layer in some paper to see what will happen. NOTE: Paper is also treated with an alum bath.
Then all is rolled as tight as I can get it around the dowels etc.
Here they are pre boil, all nicely tied and soaked in the tea/alum solution.
Placed them over a large water filled roaster on a vegetable BBQ rack. The roaster was large. I covered it all with tinfoil and kept it
steaming on the BBQ for close to 4 hours. Fun to see the colors change the longer they steam.
I left them to air dry outside for 3 days.
Now for the unrolling. Love how the string left texture lines.
COTTON
Some of the leaves did not transfer at all.
SILK
COTTON placemats and PAPER -paper yes, cotton not so much.
SILK reveal above
THE PAPER THAT WAS LAYERED BETWEEN
VERY OLD TATTY COTTON
FOLDED AREOUND THE TIN
MAPLE PODS
Very faint green smudges from the ferns. those did not work well.
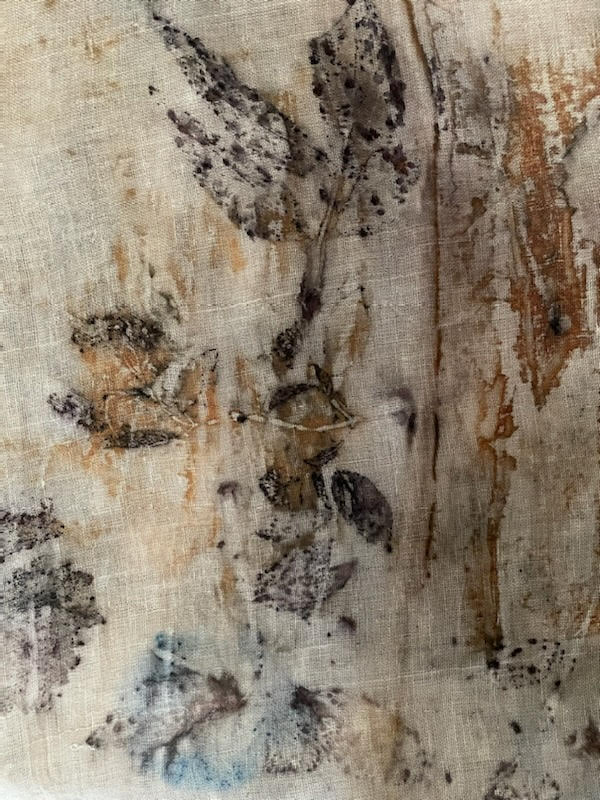
The darkest prints were from the last minute Pansy addition. I picked them right off the plants. I didn't give them the overnight treatment. They were almost a purple black color. After the process they printed a marvelous shade of indigo. I thin I am going to try doing some more just with the pansies.
The silk transfers above and below, are hands down my favorite. So moving forward, I would do silk and very old cotton for printing on.
Some close ups
These ones made it all worth the effort. Love them.
Old cottons
I would do this again for sure. I think I may even try to dye over the ones that didn't turn out so well.