


Begin with a silhouette of anything you like the look of.
Sketch it or trace it on the 'back' of a good sturdy paper

Dig into the stash box and pull out a selection of papers, pattern and color are interesting to work with. Tear them into strips about 1/2 an inch wide. NOTE: I tore them with a deliberate white edge.{tear towards you to achieve this}

I used a white glue to outline the areas I was working on.
Notice the shape is just barely visible from this side. You could darken your edges to see where to place the strips

It is okay to lap over your outline.

Once you have the entire piece outlined and dry, flip it over and re cut the shape along your original outline.

Now on to a background. Select a background paper or sub straight that is bigger than your silhouette.
 I used a combination of clear Gesso with just a touch of white paint mixed in.
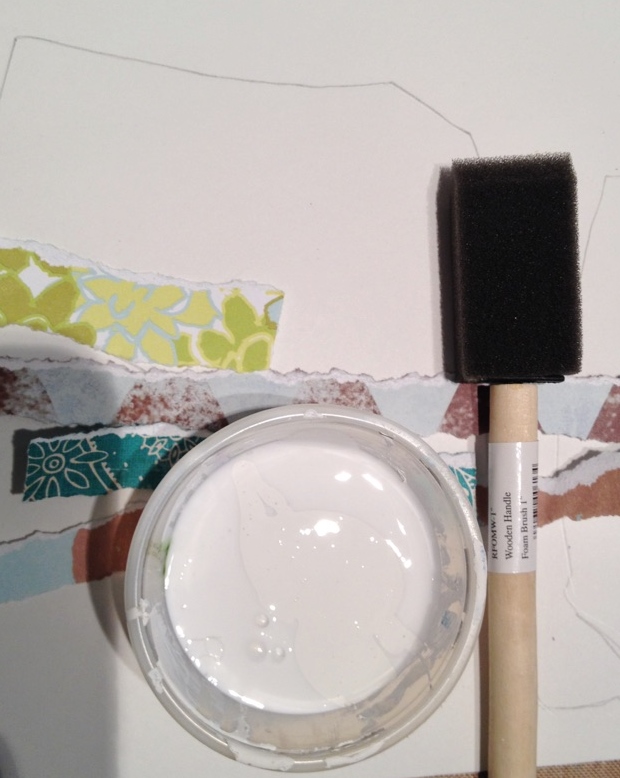
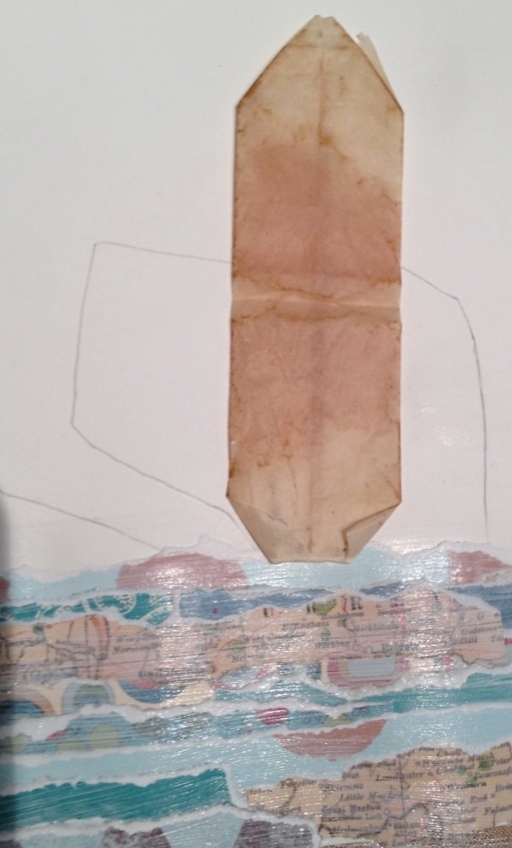
Sketch the outline placement for your silhouette. This enables you to plan the placement of background items.

I did a few simple layers along the bottom, then used the 'teabag' paper that I have been wanting to use on a project. For a long time actually....DH thinks I'm kinda nuts. I loved the teabag background. But.....

being in the mood for some texture, I added some molding paste and stencil to the background. After it was dry, I sprayed two different colors sprays with a water wash onto the stenciled patterns. Dried it with a heat gun. You can see in the top photo how, it was a bit much. In ended up muting the background with white paint. I still wasn't happy. The horse just disappeared. So, I decided to pop it with a line of red. It isn't what I thought it would be. But it was fun to play with all the different layers.

Sharing and supplies for this project by

This is what I thought it might turn out like...ah well, back to the drawing board. 'real artwork by Bev Doolittle'


No comments:
Post a Comment